Tuesday, 10 December 2013

OUGD503 - Responsive - Disney CEP Cast Members Hoodie Design

OUGD503 - Responsive - Brief 2  Disney CEP Cast Members Hoodie Design

Because I am going to work in Walt Disney World next summer, it was suggested among the Cast Members group that I produce some hoodie designs. Since it was very informal IE there isn't a specific client so much as the target audience each chipping in their own requests, I asked everyone to write what they think should be included in the designs:


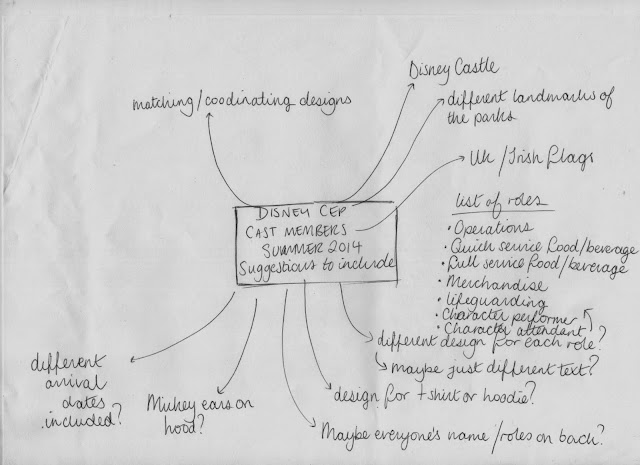


The ideas and suggestions submitted were very extensive! I wrote down all of the suggestions and started to do some mind maps and sketches:


I did a bit of research into different ideas. I started off with objects associated with each of the roles:


Here is a description into each of the roles. At first, I wanted to do a design to cater to each of these, but it didn't go to well as I couldn't think of many different imagery ideas for all of the roles:


As you can see, my ideas are rather sparse! 

So I tried a few more different ideas like emblems including flags:


I even thought of having a 'cast member' stood in front of the emblem in a different costume, but there are literally hundreds of costumes to choose from, and illustrating people isn't one of my strong points!


A banner idea
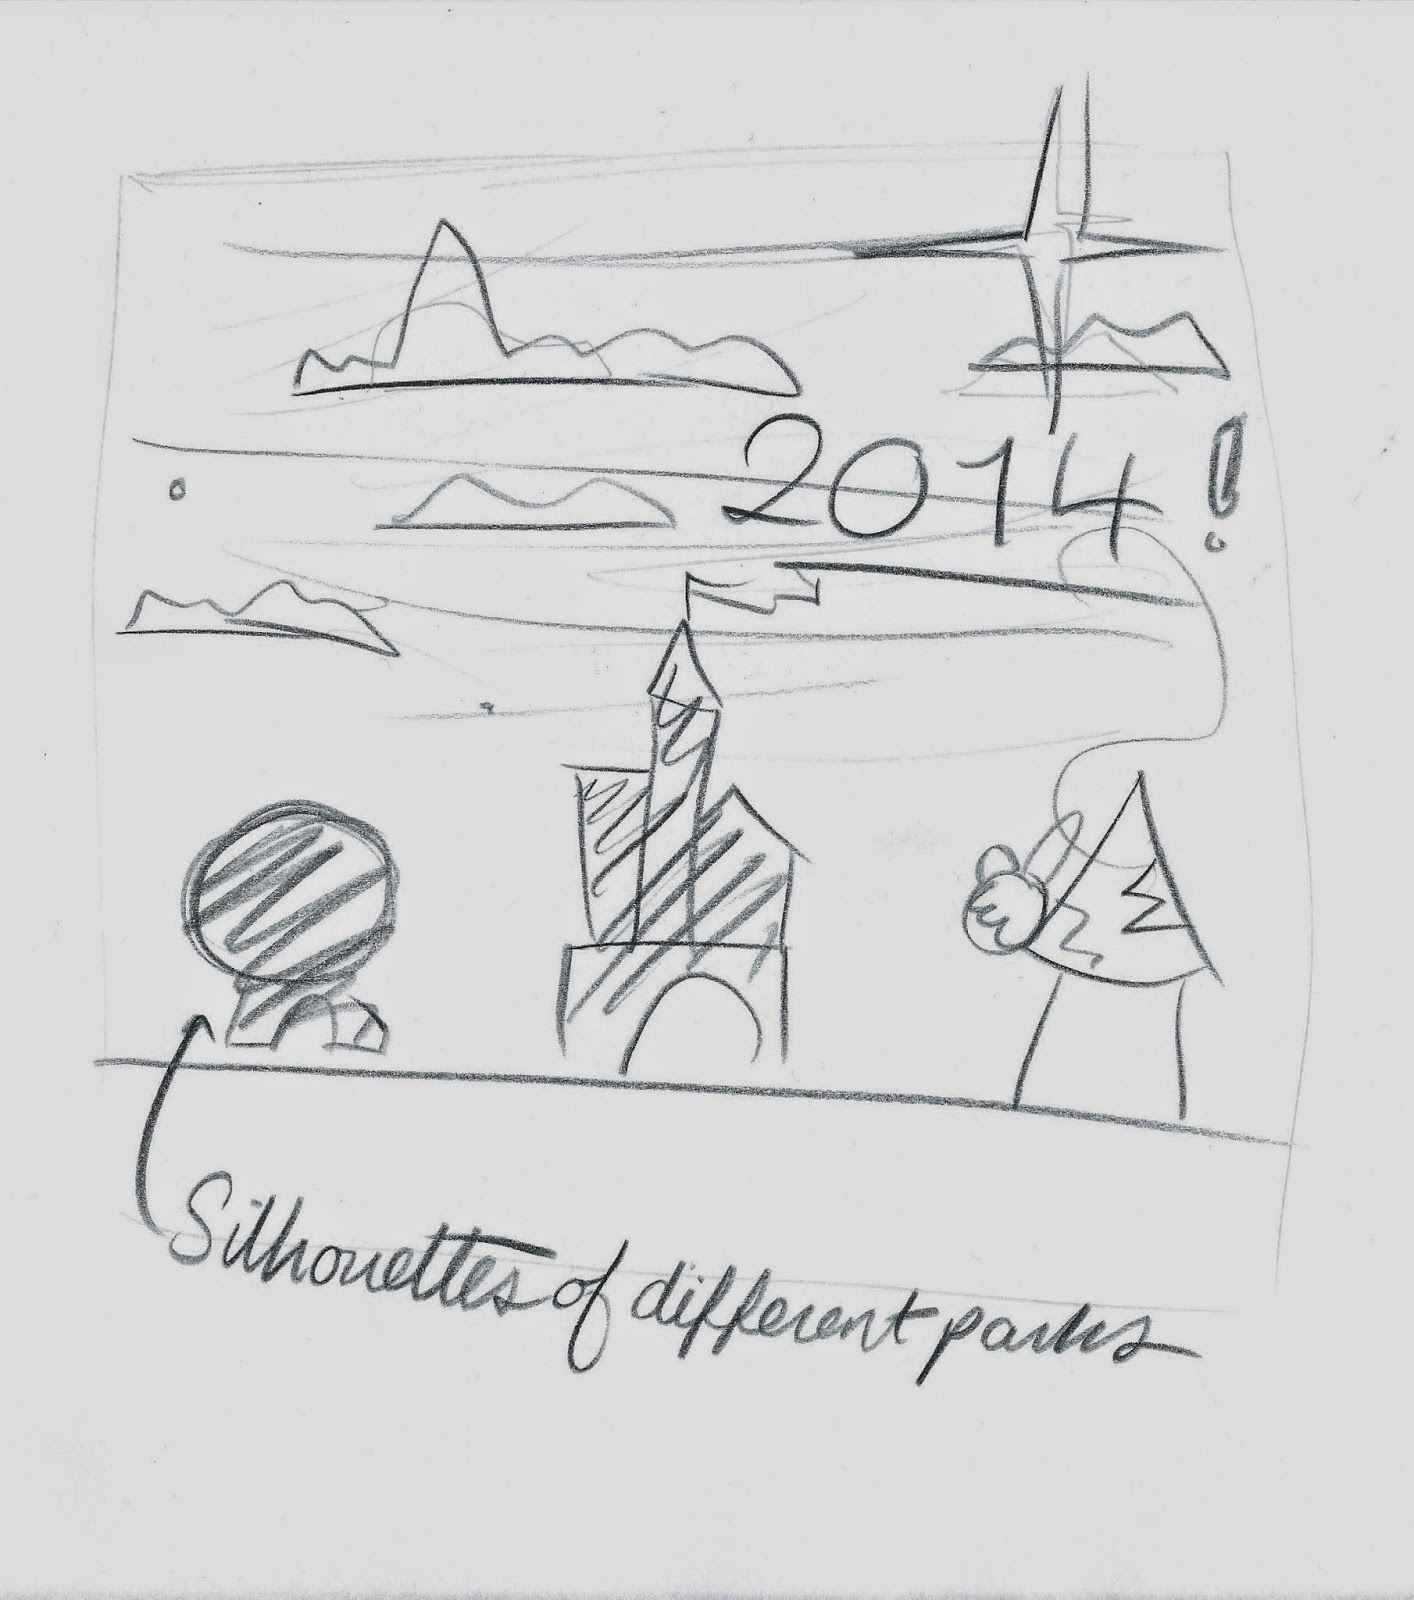

And idea of all the different silhouettes of the different parks under a starry sky, but this design already existed, practically!


I started to get somewhere when I thought that I could keep the same design for all of the hoodies, only changing the personalised details, but not changing imagery, so having a little icon to represent each of the roles on all of the hoodies.
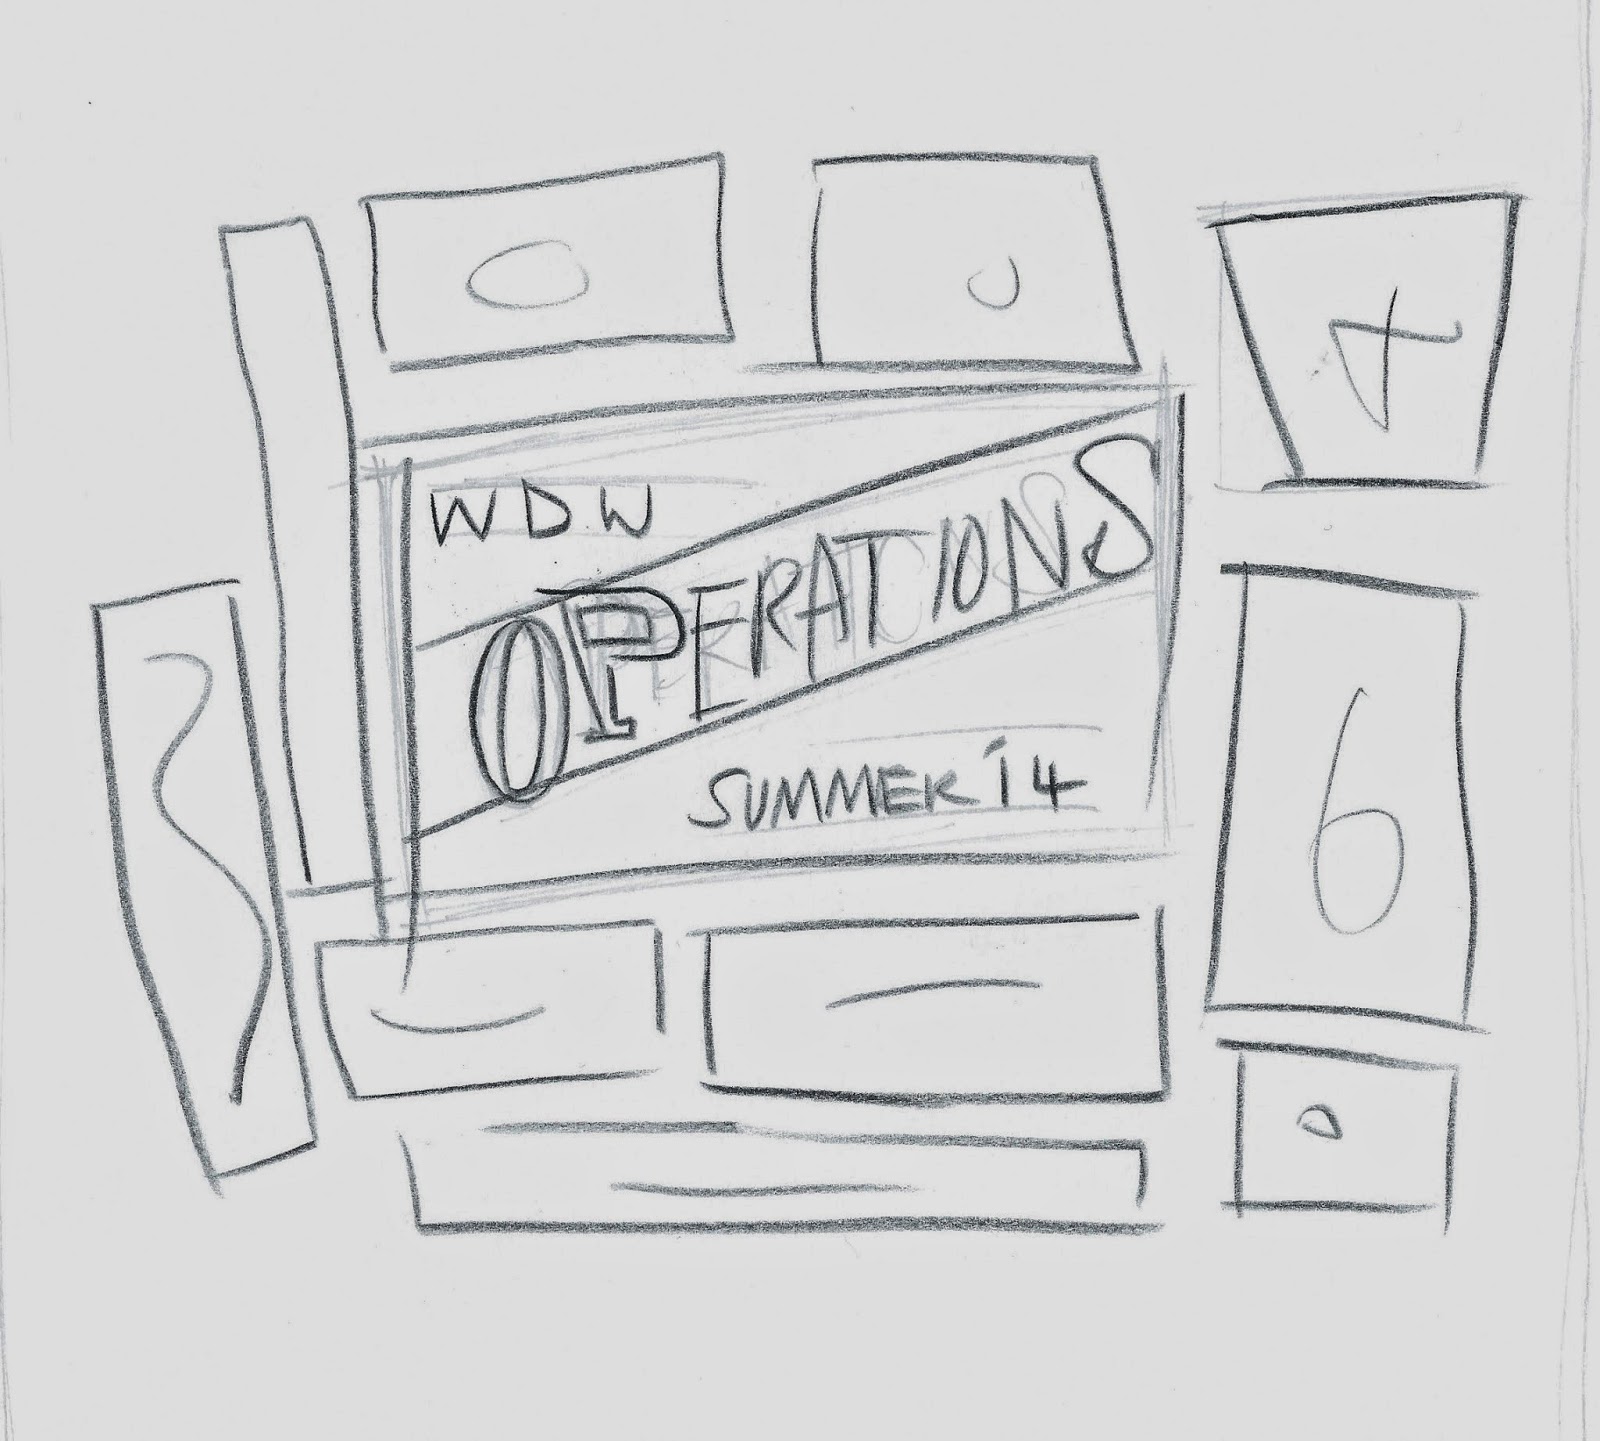

I started to look at 1950's and 60's illustration and how different illustrations can be compartmentalised in misshapen colourful squares. Like the opening title sequence to Monster's Inc!


I started sketching all of these little components such as notorious DisneyWorld food treats.


I finally had an idea I really liked! Thus far I have a 'dole whip' aka Epcot's famous ice cream for food and beverage role, the mickey hat for the character and character assistant roles, the pushchair for operations and including a flag and some other bits and pieces, with the main focus on '2014'.

I decided to take this idea straight onto computer and develop it further digitally.

Computer Development:


I started off tracing over my drawing, but I felt like it was too short so I added a banner at the top and bottom.


And some stars.


Here I am starting to pick colours. It was difficult choosing bright and colourful imagery but trying to keep to a select colour scheme.


To make it stand out, I added a gradient to the banner at the top of the design.


Here I am developing the Union Jack.

I started to trace over my sketch of Epcot's Dole Whip!!


I even bought a typeface, Horseshoes and Lemonade, so that I would be clear on distribution.


I wanted the overall look to be quite eclectic, so I put some numbers on different shapes and left others on the flat page.
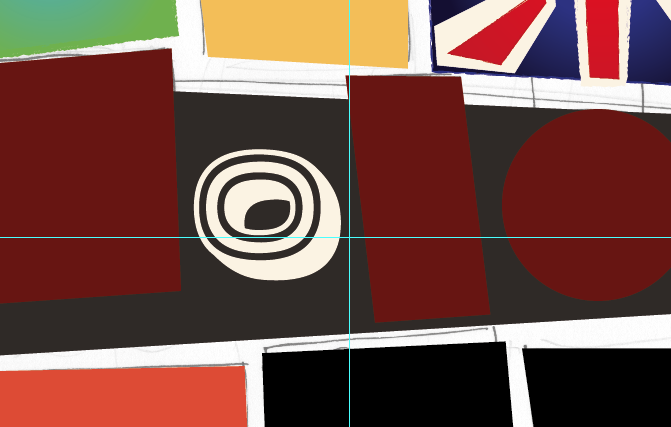

The Design so Far


I decided to pull back the colours of the Union Jack to be more stylised and had started placing some of the icons into place.


The top banner was in, so was the Mickey hat, but I felt like the Top banner was looking like an afterthought, and needed incorporating into the design more.


So I swapped it around to be in amongst the design.


I also wanted to centralise the flag!


I decided for operations, that I would represent it with a ticket, as the operations cast members handle all the ticket booths, fast passes and hotels etc.


I drew a quick-snap camera for the characters and character attendant cast members, as they help to take photos! I also didn't want to have to include an empty Mickey Mouse costume!


The whole design so far! It was really coming together and I was really pleased with it but I was struggling to fill the top left hand corner box.


So I put a lifering in it to represent the lifeguarding cast members. I also added a little varsity flag above the ticket box to break up the composition a little.

A few more suggestions came in from the group from Irish cast members, wanting their own Tricolour to be included:

I also had a shocker and realised I was using logos without permission, so before it was distributed, I change the DisneyWorld Logo to just lettering. I was still questioning the Mickey hat, as I had drew it myself and I knew that the designs were for nonprofit, I was wondering if this affected any copyright laws. So I contacted somebody on twitter and I was strictly advised against it, so I took this cautious advice and needed something to replace the Mickey Hat whilst still representing the Merchandise Cast Members.


Here I am smartening up my castle silhouette.


So I eventually went with a shopping bag, mug and pen to represent the Merchandise cast members. I was really disappointed because I felt like my design was now nothing to do with Disney at all. I was up in running against another member of the group, which included all Disney designs on theirs, meaning that mine was downloaded very little in the end in comparison.


After hearing lots of praise about my work, I decided to create a quick promotional Facebook cover photo banner:


 Here is what the final design would look like printed onto the actual hoody:


OUGD504 - Design for web - Coding the first page

Design for web - Coding the first page

After fully designing on paper my home page design and then again on illustrator, I feel like I am finally ready to take my design onto DreamWeaver. I am not confident at all for designing for web as it's a lot more mathematical than most of the design I do, so I sort in designing and calculating everything in a wireframe before I even made it onto the computer.


To start, I created a new folder in User Work named 'basilicaroot'. I opened up DreamWeaver and set up a new site. I created a new HTML file called 'index' and a CSS file named 'stylesheet'. I saved them all in the same root folder. I then had to link them together:


By clicking on the link icon I should (hopefully) be able to link my two files together.

It did work (!)

I had to set up some of the initial coding for the site, such as the font family and the background. For the background, rather than a colour, I wanted to use an image:


I opened it in Photoshop and re-sized it to what I needed, then went to 'save for web'


I googled it and read through a couple of tutorials, because I wanted the background image to be fixed, full screen and therefore responsive.

I wanted to make the languages bar. Knowing that I would not be able to make legitimate buttons that refresh the website into a different language, I decided to make this particular menu an image.
I created the CSS coding needed to determine the box in which the image were to be dropped into.


I then put this inside the main coloured container.


I then refreshed chrome - woohoo!


I now want to add the main menu bar. According to my wireframe design, the main menu bar is white and sits beneath the languages bar, but fills the screen.


the width being 100% means it fills the screen horizontally. 
The height was determined by my wireframe.
The margin-top was determined by my wireframe, as I calculated it being 40 pixels from the top of the screen design.

Because it was going to be on top of the container visually, I added the html for the main menu after the closed div id for the container.
 This created the white line over the top of the container.

To add the buttons, because they are central to the design and require a margin where the 100% width white box doesn't, I needed to create another container to go inside of the white menu box that could have independent margins from the white box.

I called this main menu container. 

The width was determined by the width of the container, the space in which I wanted the buttons to be inlined with. The margins automatically centralised hopefully meaning that the buttons that are about to be placed within this will centre in the middle of the design.

I created the illustrator designs for the rollover buttons - of course all pre calculated from my wireframe design. I used a font that is free for commercial use and for use online - meaning that if I wanted to, the body would be able to co-ordinate with the buttons and titles.

The CSS coding for the buttons:


I pre-calculated the size of each button and I positioned them relatively and made them float left.
I then placed them one after the other within the main menu container.


The first button worked well:


And fortunately, the others followed successfully!


They work successfully too in that the rollover features all work!!

I followed the same procedure to create the second title bar.


Now to drop in the logo!!


As you can see, I've designed the logo to be in a strange place; 48px from the top, and about 90px out of the left margin of the coloured box (container).


  I put a minus number where the left margin was, so that it would displace beyond the left margin.


I placed the html coding after the languages bar but before the title bar, because its physically going to be below the languages and it's going to be placed to the left and therefore first before the title bar.

I saved all and previewed:


I now want to drop in the title into the title box. It will require padding, to centralise the lettering like this:


The space around the title 'book / book online or call' from the left is 80px and the top and bottom is 16px. I'm not sure if I will require the right hand side padding measurements.


I changed the white titlebar itself - which I realised was a mistake....


looking at the 'inspect element option, we can see that it's applied the padding to the outside not the inside of the box. I think I might need to add another container for the title text inside of the title box, but first I'm going to try to get this padding to work inside of the box. Maybe try adding in the right padding element and see if that refines the outcome:

It didn't work! 

I decided to change the size of the content box to the exact size of the text box as defined by my mockup in illustrator. I also realised that the padding on the left is defined by the margin, on my illustrator design the box didn't reach the margin: the left padding is 159px.

So, after making these changes I refreshed and...


Yay!

I want the title to be a certain font so I used google fonts and chose the several different fonts that I selected when designing the site in illustrator. Google fonts give you the code to embed them into your site and are guaranteed to be free to use online which is great!

I embedded the html code to the <head> section of my code, and I added the CSS code for the 'tangerine' font to just the title section of my CSS stylesheet because I want to use it just for the title!


I need the lettering to be bigger in size, so I added the font size too, and set it to 55px. I decided on this size by measuring the height of the lettering on illustrator and then experimenting with different sizes in CSS.


I saved all and refreshed:


Success!

One last thing to do before I saved the document as a template for all of the pages of the site: adding the basic container for all the main content of the site, starting with the introduction.

Here is the CSS I tried to code to determine the size/ shape/ colour of the main content container.


Because I had entered the margin-top from the top of the coloured container,  I realise now that because the code was below the title bar in HTML, that it measured the top margin from the title bar, not the top of the page:


So I moved the code to be above the title bars in HTML and this happened:


It moved the rest of the elements beneath the start of the content!


It kept jumping above the introduction container instead of below, turned out it was to do with the different positions.

I altered the opacity of the different menu bars and also amended the length of the page; it needs to be determined by the content from now on.

I was getting confused as to why my pre-calculated wireframe wasn't determining the correct size of content box. I keep forgetting that the padding is added around the size of the width and height rather than inside. I then took away the size of the padding from the width so that it was the correct size for the page:


Now I want to sort the logo out in terms of being overlapped by the transparency of the title bar and then I will be able to save this as a template for all the other pages of the site.

Wednesday, 4 December 2013

OUGD504 - Design for Print and web - Creative Suite Session 4

Design for Print and web - Creative Suite Session 4

We have to find the 9 errors in an Adobe Indesign document that is to be printed:


  1. RGB image being used in a CMYK profile for print.
  2. One of the Pantone swatches isn't being used and so there will be a costly printing place needed for no reason.
  3. One image doesn't reach the bleed margin.
  4. One image has been scaled up, there will be a loss of quality.
  5. Another image has been scaled down, and therefore there is an unnecessarily large file size.
  6. Use of a .jpeg file isn't appropriate as there will be a loss of quality.
  7. RGB swatch being used in a CMYK profile document for print.
  8. One image has the wrong resolution, should be prepared at 300 dpi